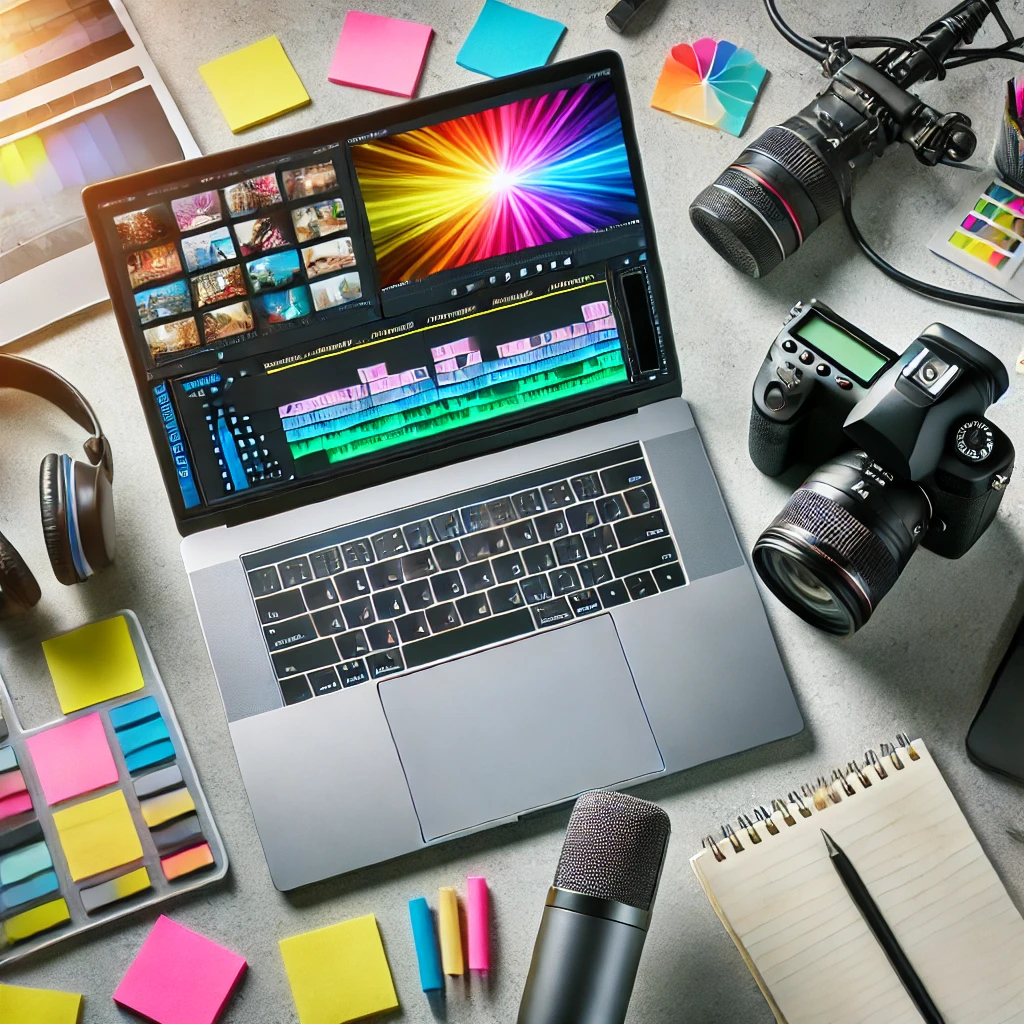
Mastering the Art of Video Editing: A Comprehensive Guide
Video editing is a critical step in the content creation process, transforming raw footage into engaging and professional videos. This comprehensive guide will help you master the art of video editing, covering essential techniques, tools, and best practices.
1. Understanding the Basics
Before diving into the editing process, it’s important to understand the basic concepts and terminology. Familiarize yourself with terms like timeline, cuts, transitions, and effects. Knowing these basics will help you navigate editing software more efficiently and make informed decisions during the editing process.
2. Choosing the Right Software
Selecting the right video editing software is crucial for a smooth editing experience. Popular options include Adobe Premiere Pro, Final Cut Pro, and DaVinci Resolve. Each software has its strengths and unique features, so choose one that best fits your needs and skill level. Spend some time exploring tutorials and guides to get comfortable with your chosen software.
3. Organizing Your Footage
Good organization is key to efficient video editing. Start by importing your footage into your editing software and organizing it into folders or bins. Label your clips clearly and create separate folders for different types of assets, such as raw footage, audio files, images, and graphics. This will save you time and help you stay organized throughout the editing process.
4. Making Basic Edits
Begin the editing process by making basic cuts and trims to remove unnecessary parts of your footage. Arrange your clips on the timeline in the desired order, following your storyboard or script. Use the trim tool to fine-tune the beginning and end of each clip, ensuring smooth transitions between scenes.
5. Adding Transitions and Effects
Transitions and effects can enhance the visual appeal of your video. Use transitions like fades, dissolves, and wipes to create smooth shifts between scenes. Add visual effects sparingly to highlight key moments or create a specific mood. Remember, less is often more when it comes to transitions and effects, so use them purposefully.
6. Enhancing Audio
Audio is a crucial component of a professional video. Ensure your audio levels are balanced and free from background noise. Use audio editing tools to clean up and enhance your sound. Add background music and sound effects to complement your visuals and create a more immersive experience. Be mindful of volume levels to ensure dialogue and important sounds are clear and not overshadowed by music or effects.
7. Color Correction and Grading
Color correction and grading can significantly impact the look and feel of your video. Use color correction tools to adjust the exposure, contrast, and saturation of your footage, ensuring consistent color throughout your video. Color grading adds a stylistic touch, enhancing the mood and atmosphere. Experiment with different color palettes to find the one that best suits your video’s theme and message.
8. Adding Titles and Graphics
Titles and graphics can add context and visual interest to your video. Use titles to introduce sections, highlight key points, or provide additional information. Graphics such as lower thirds, callouts, and animated text can make your video more engaging and professional. Ensure your titles and graphics are clear, concise, and visually consistent with your overall design.
9. Reviewing and Refining
Before finalizing your video, review it thoroughly to catch any mistakes or areas for improvement. Watch your video from start to finish, taking note of pacing, transitions, and overall flow. Make necessary adjustments to ensure a smooth and engaging viewing experience. Consider getting feedback from others to gain new perspectives and identify potential issues you might have missed.
10. Exporting and Publishing
Once you’re satisfied with your edit, it’s time to export your video. Choose the appropriate settings based on your intended platform, such as resolution, frame rate, and format. For example, YouTube recommends a resolution of 1080p and a frame rate of 24-60 fps. After exporting, review your video to ensure there are no technical issues before publishing. Upload your video to your chosen platform and optimize the title, description, and tags for better visibility.
11. Promoting Your Video
Promoting your video is essential to reach a wider audience. Share your video across your social media channels, embed it on your website, and include it in your email newsletters. Engage with your audience by responding to comments and encouraging shares. Analyze the performance of your video to gain insights and refine your future content strategy.
By following these steps and incorporating best practices, you can master the art of video editing and create polished, professional videos that captivate your audience. Remember, practice makes perfect, so keep honing your skills and experimenting with new techniques to take your video editing to the next level.
